
Unleash Your Creativity: Step-by-Step Guide to Mastering Graphic Eyeliner — Ana Kay Beauty Academy Edition

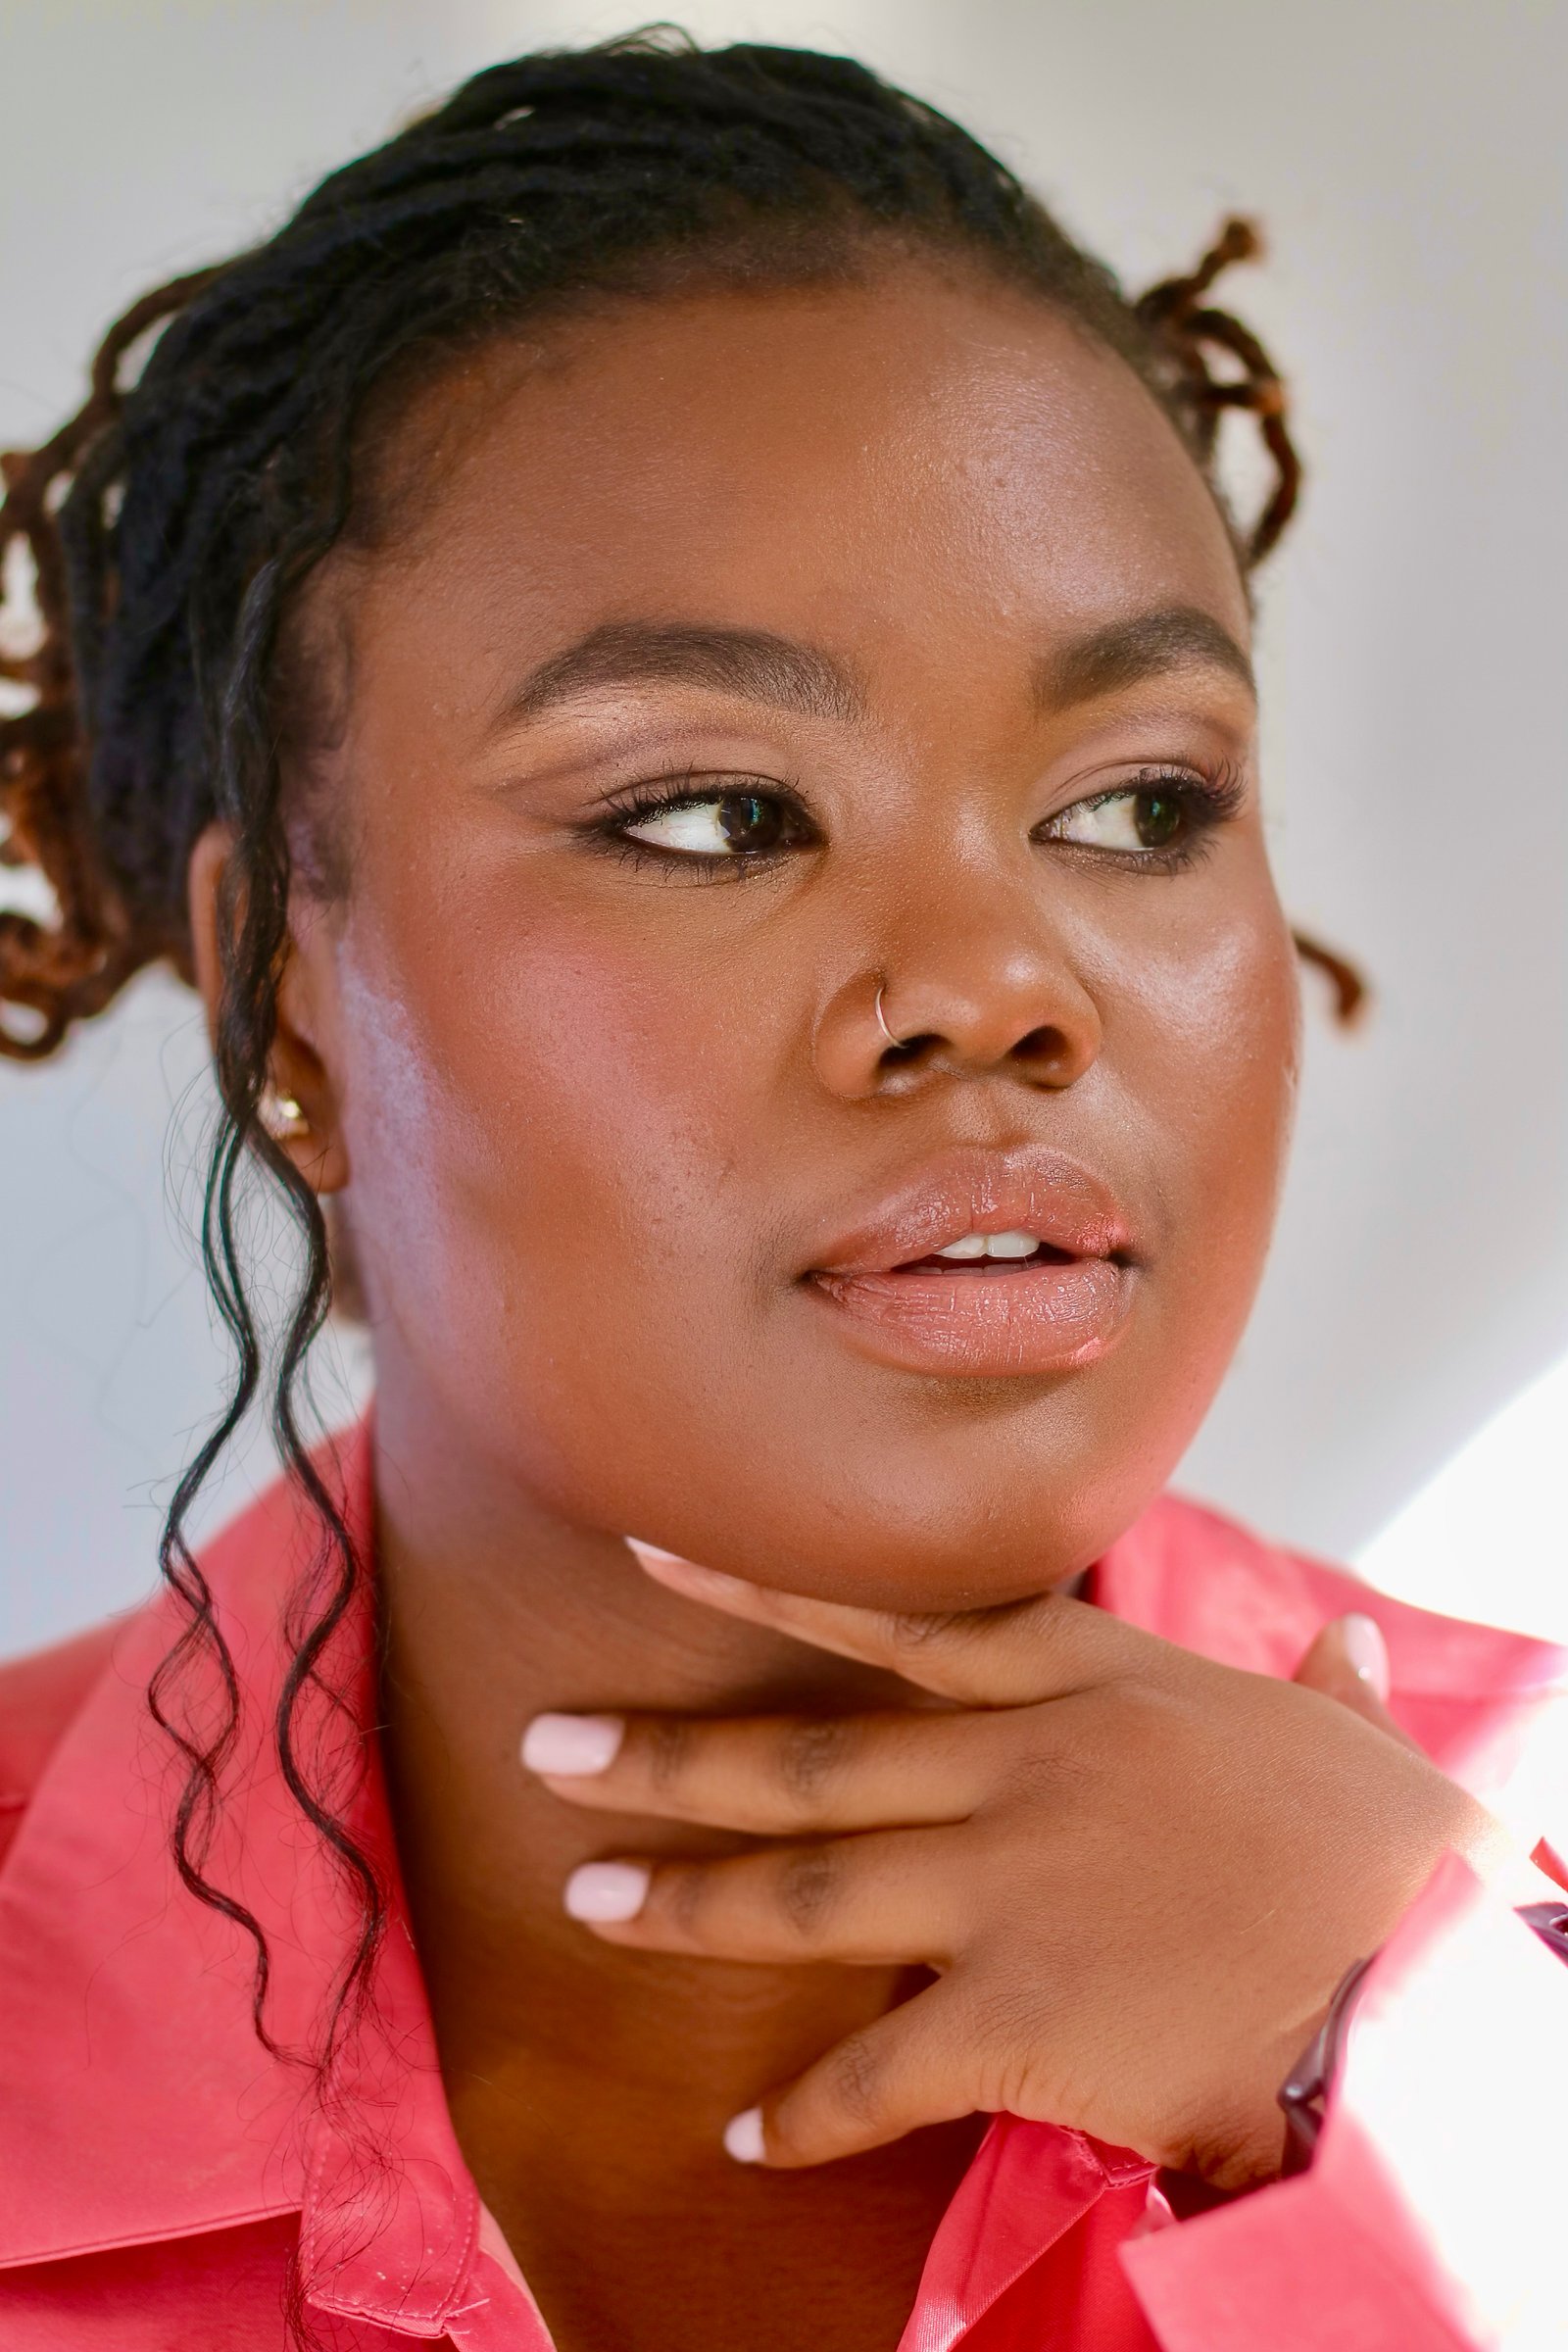
Graphic liner is not just a trend—it’s a statement. Bold, artistic, and unapologetically expressive, this eye look is a favorite among runway artists, editorial shoots, and beauty influencers alike. But let’s face it: creating that flawless, symmetrical liner look can be intimidating, even for experienced makeup artists.
At Ana Kay Beauty Academy, we believe in empowering creativity through technique. That’s why we’ve broken down this look into easy-to-follow, professional steps—perfect for any artist looking to build confidence in mastering graphic liner artistry.
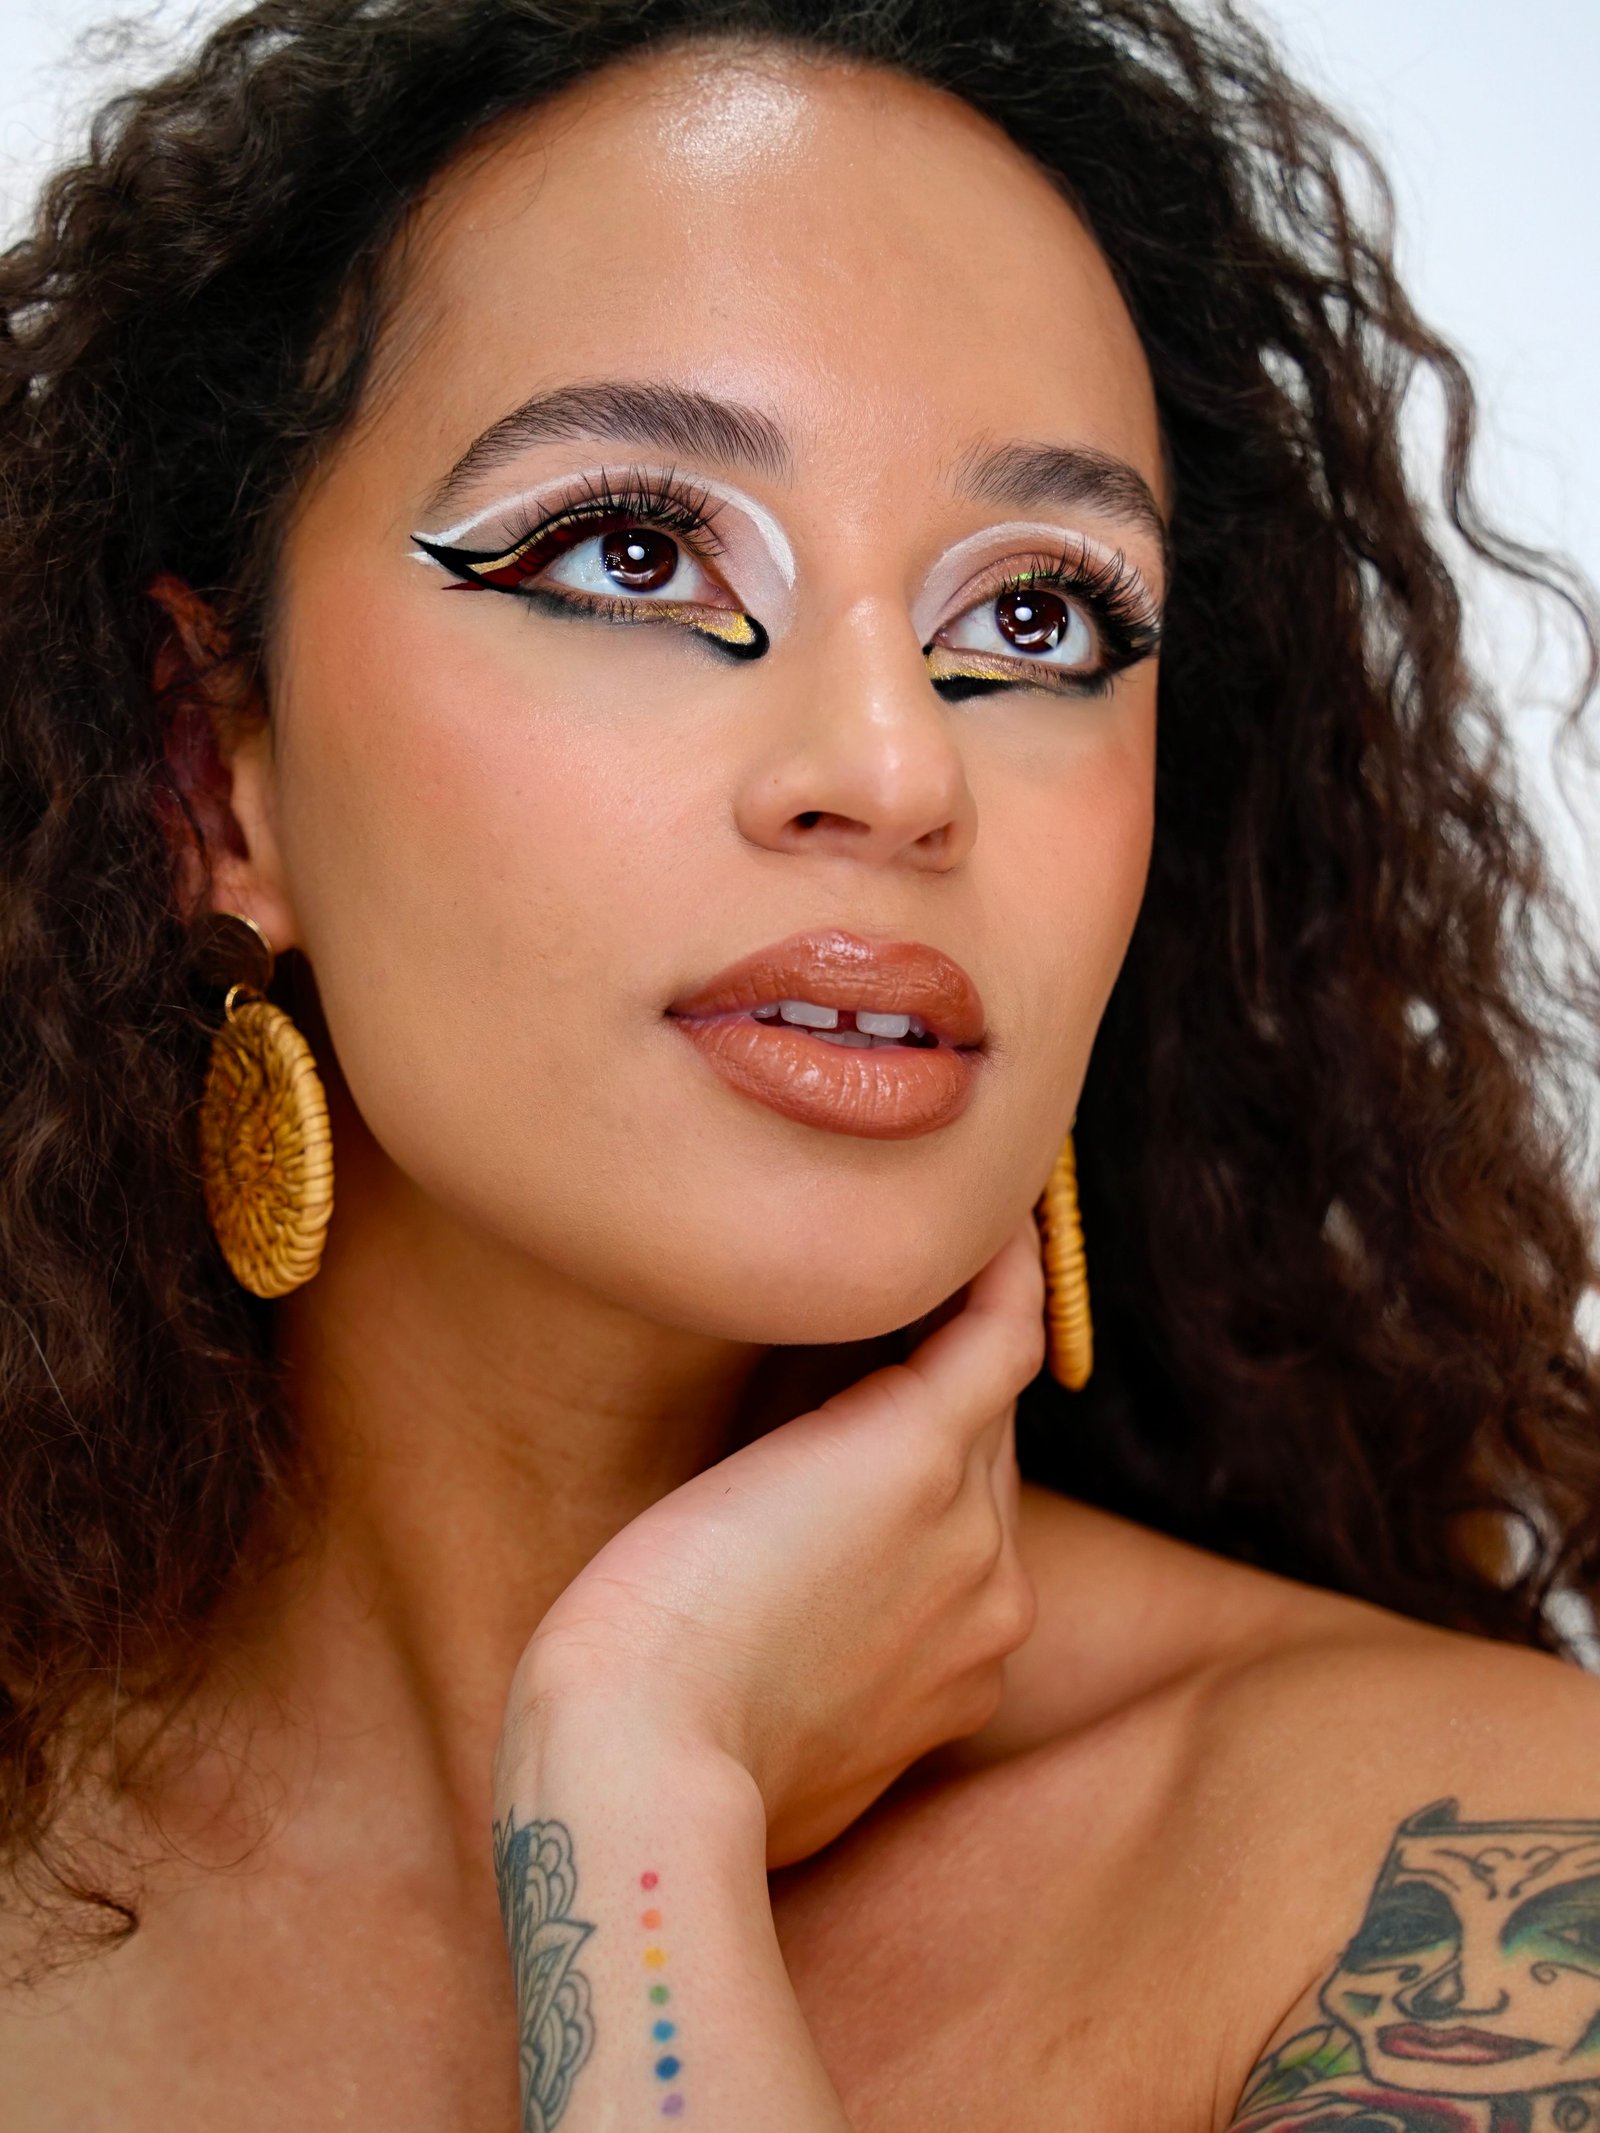
What Is Graphic Eyeliner?
Graphic eyeliner takes classic liner up a notch, turning your eyelids into a canvas for creativity. Think geometric shapes, floating lines, negative space, and bold colors.
Popular styles include:
- Floating crease lines
- Double winged liner
- Color-blocked shapes
- White graphic liner accents
Step-by-Step Guide: Creating a Striking Graphic Liner Look
Step 1: Prep and Prime
Before applying any liner, set yourself up for success;
- Cleanse and hydrate the skin around the eyes.
- Apply a matte eyeshadow base or primer to prevent smudging.
- Lightly dust translucent powder over the lid to ensure a smooth, even surface.
Ana Kay Pro Tip: Avoid creamy eyeshadows as a base—they can cause bleeding or skipping with liquid liner.
Step 2: Sketch the Shape (Optional but Recommended)
For beginners, sketching the shape with a fine angled brush and a soft brown eyeshadow helps visualize placement and symmetry.
- Keep both eyes open during application to align angles evenly.
- Use small strokes to mark the outer wing, the crease connection, or floating lines.
Step 3: Choose Your Products Wisely
Use tools you’re most comfortable with:
- Felt-tip liquid liner pens for clean, sharp edges.
- Gel liners with fine brushes for smoother control.
- Water-activated liners for colorful or graphic editorial styles.
Ana Kay Academy Favorite: Try using white or neon liner to outline first, then fill with a bold color for impact.
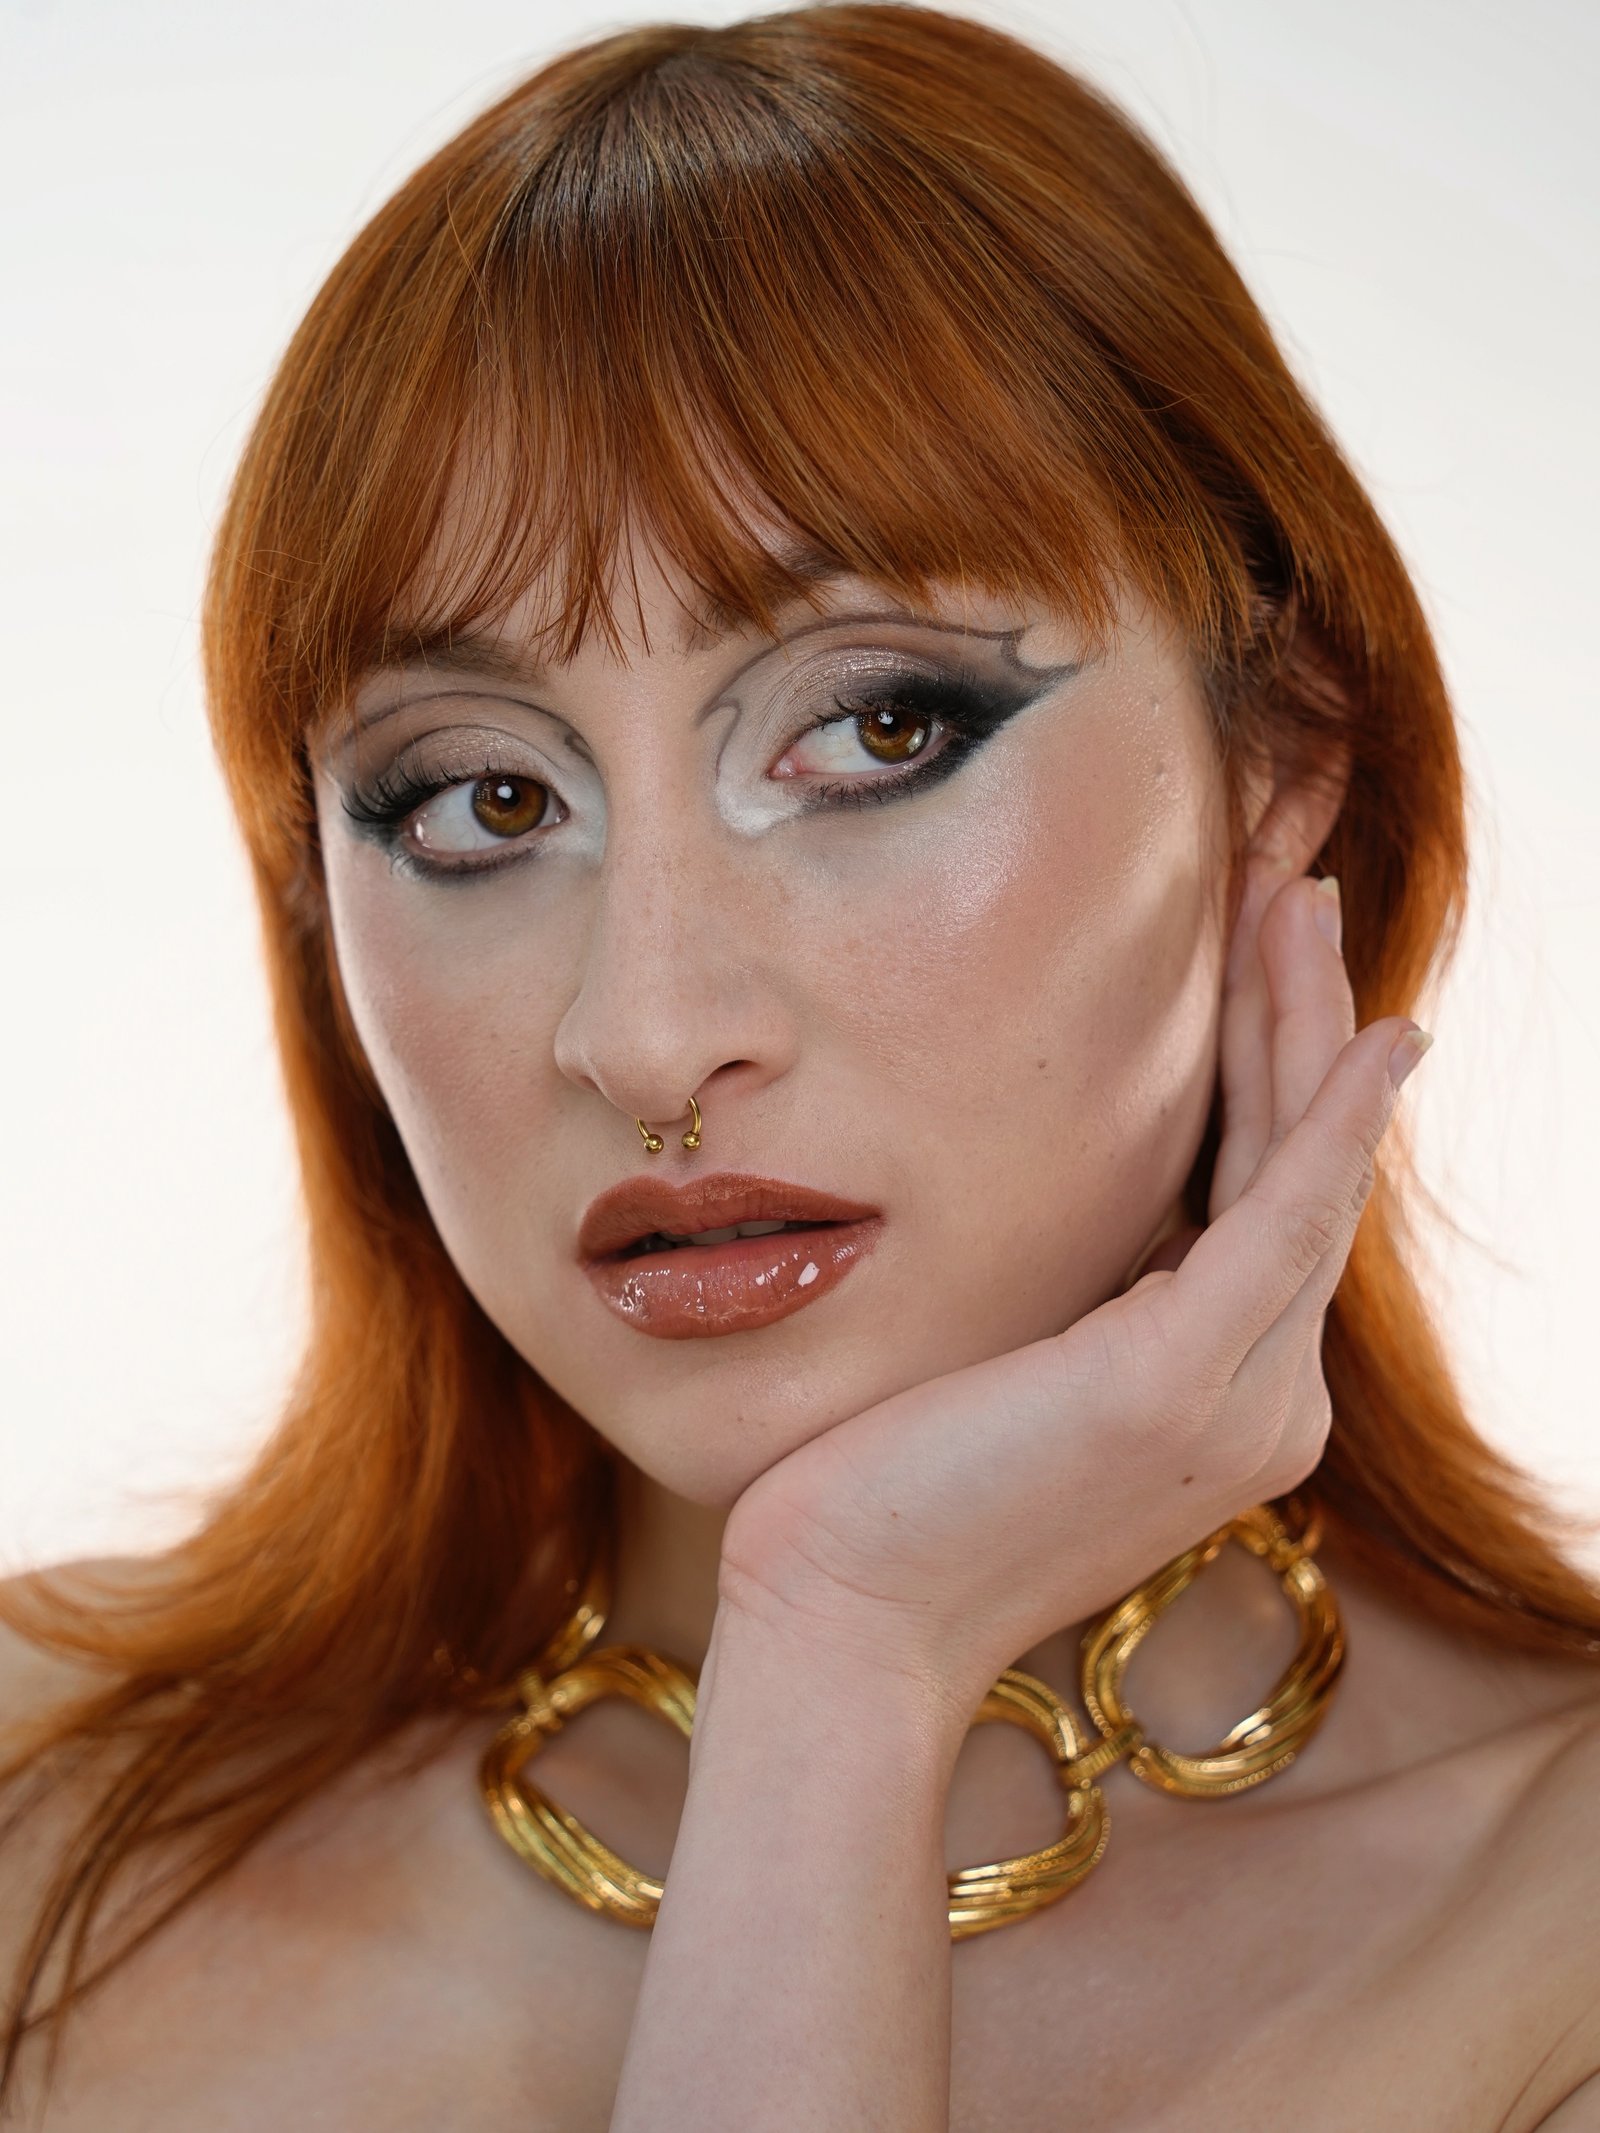
Step 4: Build the Lines
Start with your most important feature—typically the outer wing or the floating crease line:
- Draw the wing: Use the lower lash line as a guide for the angle. Extend outward and upward.
- Create the floating line: Draw slightly above the natural crease. This opens the eye and makes the look pop.
- Connect shapes or leave space for negative liner styles.
Ana Kay Pro Tip: Use a Q-tip dipped in micellar water for ultra-crisp corrections.
Step 5: Add Color & Dimension
- Fill in shapes with colorful liners or eyeshadows applied with a flat detail brush.
- Add metallic accents or white liner for contrast and definition.
- Layer glitter liner or crystals for a dramatic, editorial finish.
Step 6: Balance the Look
- Keep lips and cheeks minimal to highlight the eyes.
- Use a light lash coat or pair with individual lashes to avoid overshadowing the liner.
Common Mistakes to Avoid
- Rushing through symmetry—take your time.
- Applying on oily lids—use primer and powder.
- Skipping your sketch—planning saves cleanup time.
Practice With Purpose at Ana Kay Beauty Academy
Struggling with liner shapes? At Ana Kay Beauty Academy, our students receive hands-on training with creative makeup instructors who teach not just technique—but vision. We guide you through mastering:
- Symmetry
- Product control
- Line creativity
- Custom client looks
With our in-class demos and creative workshops, graphic liner becomes second nature.
Ready to Master the Art of the Line?
If you’re looking to turn your makeup passion into professional artistry, Ana Kay Beauty Academy is your destination for unlocking bold beauty potential.
Share your graphic liner look using #AnaKayAcademy and tag us to be featured!
Latest Posts


90 Comments
Ana Kay Pro
follow us for more tips on instagram https://www.instagram.com/anakaypro
kLaRbwcYgI
kLaRbwcYgI
zupdnOGLomdq
mRJYzeLK
mRJYzeLK
OoHuRxJwBV
OoHuRxJwBV
dvEnjseLMgYrv
uhFJcIXtb
uhFJcIXtb
HnbBPMUBFTbaZg
kaxxQIvvwFMTMs
tgoatIqpA
tgoatIqpA
LUKsiYHCWtEjbBL
LUKsiYHCWtEjbBL
wmjmdPhq
wmjmdPhq
wTkvhTqUuxo
wTkvhTqUuxo
HdvbRnHnS
HdvbRnHnS
lrppuGtEVsZwa
lrppuGtEVsZwa
BHOuVVUygLAp
rtFbFeIvLAdcBS
rtFbFeIvLAdcBS
tLCWbHaHtQl
npjFauHC
nVxhByyZQz
nVxhByyZQz
wuGbosznag
wuGbosznag
lDZHHKyec
zMTjEnwUWg
zMTjEnwUWg
gwhUkMcPisLJEF
gwhUkMcPisLJEF
GXTrFyjuE
GXTrFyjuE
OFOjmQFWEVUuFap
OFOjmQFWEVUuFap
lECzsZvyG
lECzsZvyG
juubVItWUq
juubVItWUq
BbyJWfbEWFzY
BbyJWfbEWFzY
tWsdWbbI
tWsdWbbI
nGAeaxfXgmyE
nGAeaxfXgmyE
hfOYWNhJtHwZS
hfOYWNhJtHwZS
ehNXllPTPpgjmd
ehNXllPTPpgjmd
ZwqBMhlfBF
ZwqBMhlfBF
YOhWHCqnXdZA
XJLMbAECZ
XJLMbAECZ
PRAqulFzJLgKW
PRAqulFzJLgKW
FVFRNPbpRMnM
FVFRNPbpRMnM
DjJlbtFlPiE
DjJlbtFlPiE
LrVyrgvN
LrVyrgvN
UCUgrggVBtKxwte
UCUgrggVBtKxwte
GuFPTPKV
GuFPTPKV
fICNAWsbeSm
fICNAWsbeSm
RTVvhNNSvx
RTVvhNNSvx
YvpzWGAOVIR
YvpzWGAOVIR
vWsIOqjIcu
vWsIOqjIcu
ycPepZJfiSD
ycPepZJfiSD
QYLZTjXRDsOXA
QYLZTjXRDsOXA
oiEZuXUIjyRNLqZ
oiEZuXUIjyRNLqZ
ZOMiwCGQegC
TpCfNSNEibu